Labeling Icons with Text
Check It Out by Caryn Lum
After a hard drive failure, I was forced to get a new M1 MacBook Air and therefore forced to make a big jump from Yosemite to Big Sur. I had previously used a now-discontinued application, “Folder Brander,” to put text on the icons of drives, folders, and documents to help me with organization. A quick internet search revealed no good replacement, but it turns out that you can accomplish this task using only the Finder and Preview.
Step 1.
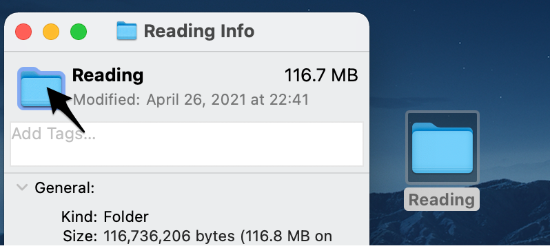
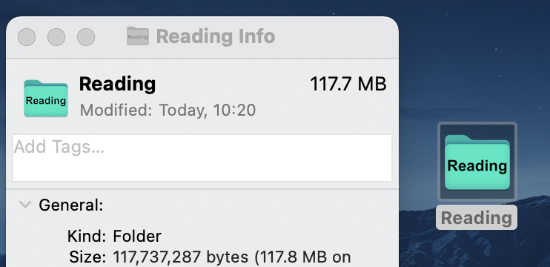
In the Finder, select the item whose icon you want to label and click cmd-I (Get Info).
Click on the item’s icon in the Get Info dialog box and click cmd-C (copy). You are copying the .icns file to your clipboard.
Step 2.
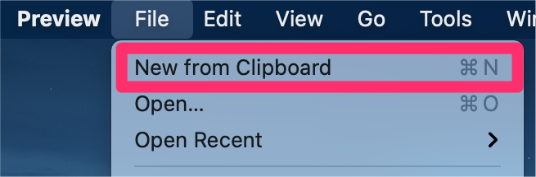
Launch Preview and select “New From Clipboard” (cmd-N)
Step 3
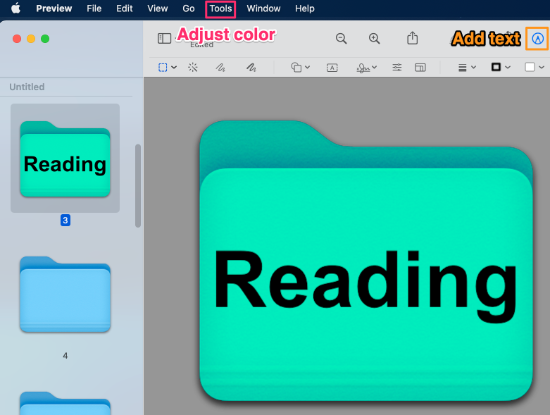
Preview will open a document with multiple thumbnails of the icon in its sidebar. The thumbnails are for various icon sizes, with the largest icon size at the top. Pick a large to medium icon to edit. You will be able to have larger text size on your icon if you choose a medium size – #3 is good. Use Preview’s markup tools to add your text. You can also change the color (Tools > Adjust Color), but Big Sur users should beware – the OS 11 Preview is said on the internet to be buggy and Preview crashed several times while I was playing with this tool.
Step 4
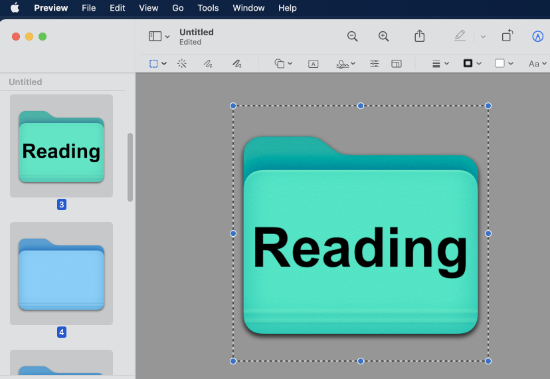
In Preview’s main window (not the sidebar), “Select All” (cmd-A), then “Copy” (cmd-C) to copy your customized image to your clipboard.
Step 5
Back in the Finder Get Info dialog box, click on the item’s icon again and click cmd-V (paste).
Step 6
You have replaced the item’s original icon with your custom icon. Selecting the icon in the Get Info dialog box and clicking delete will restore the default icon.